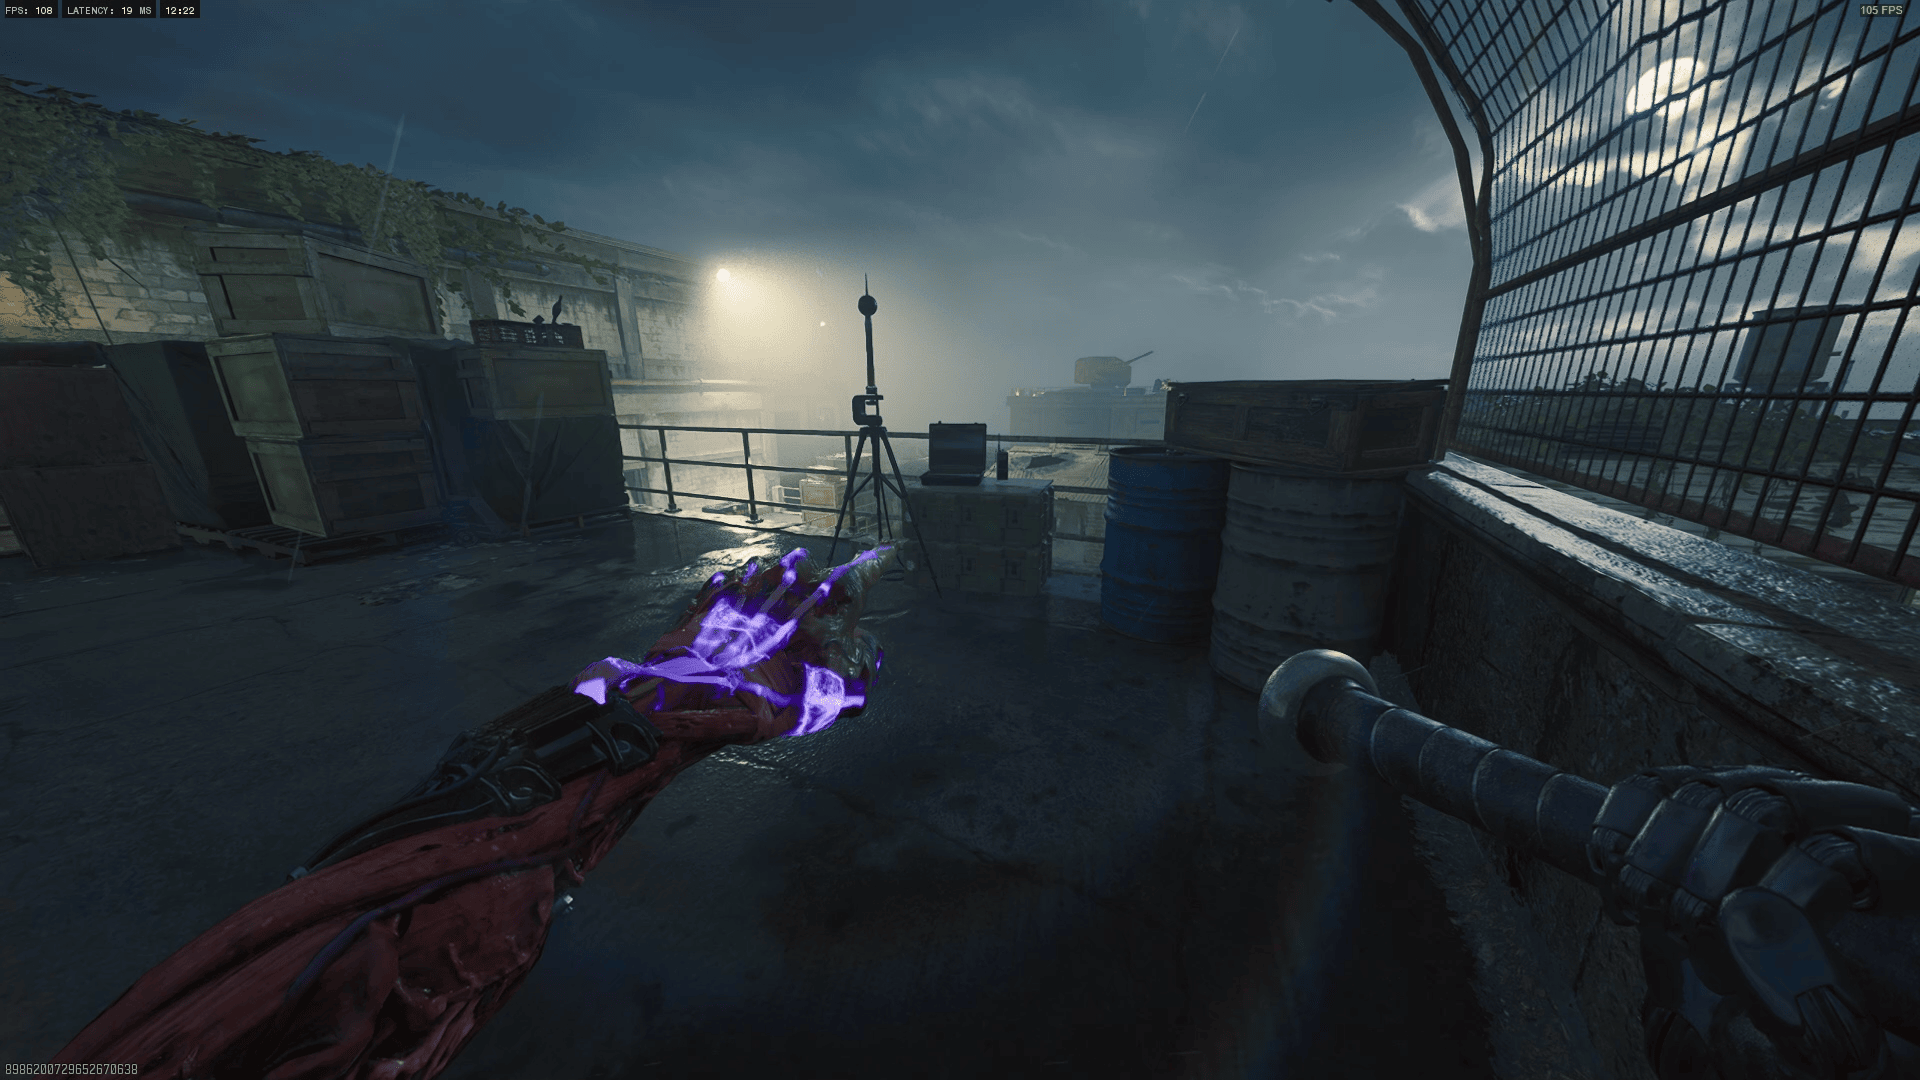
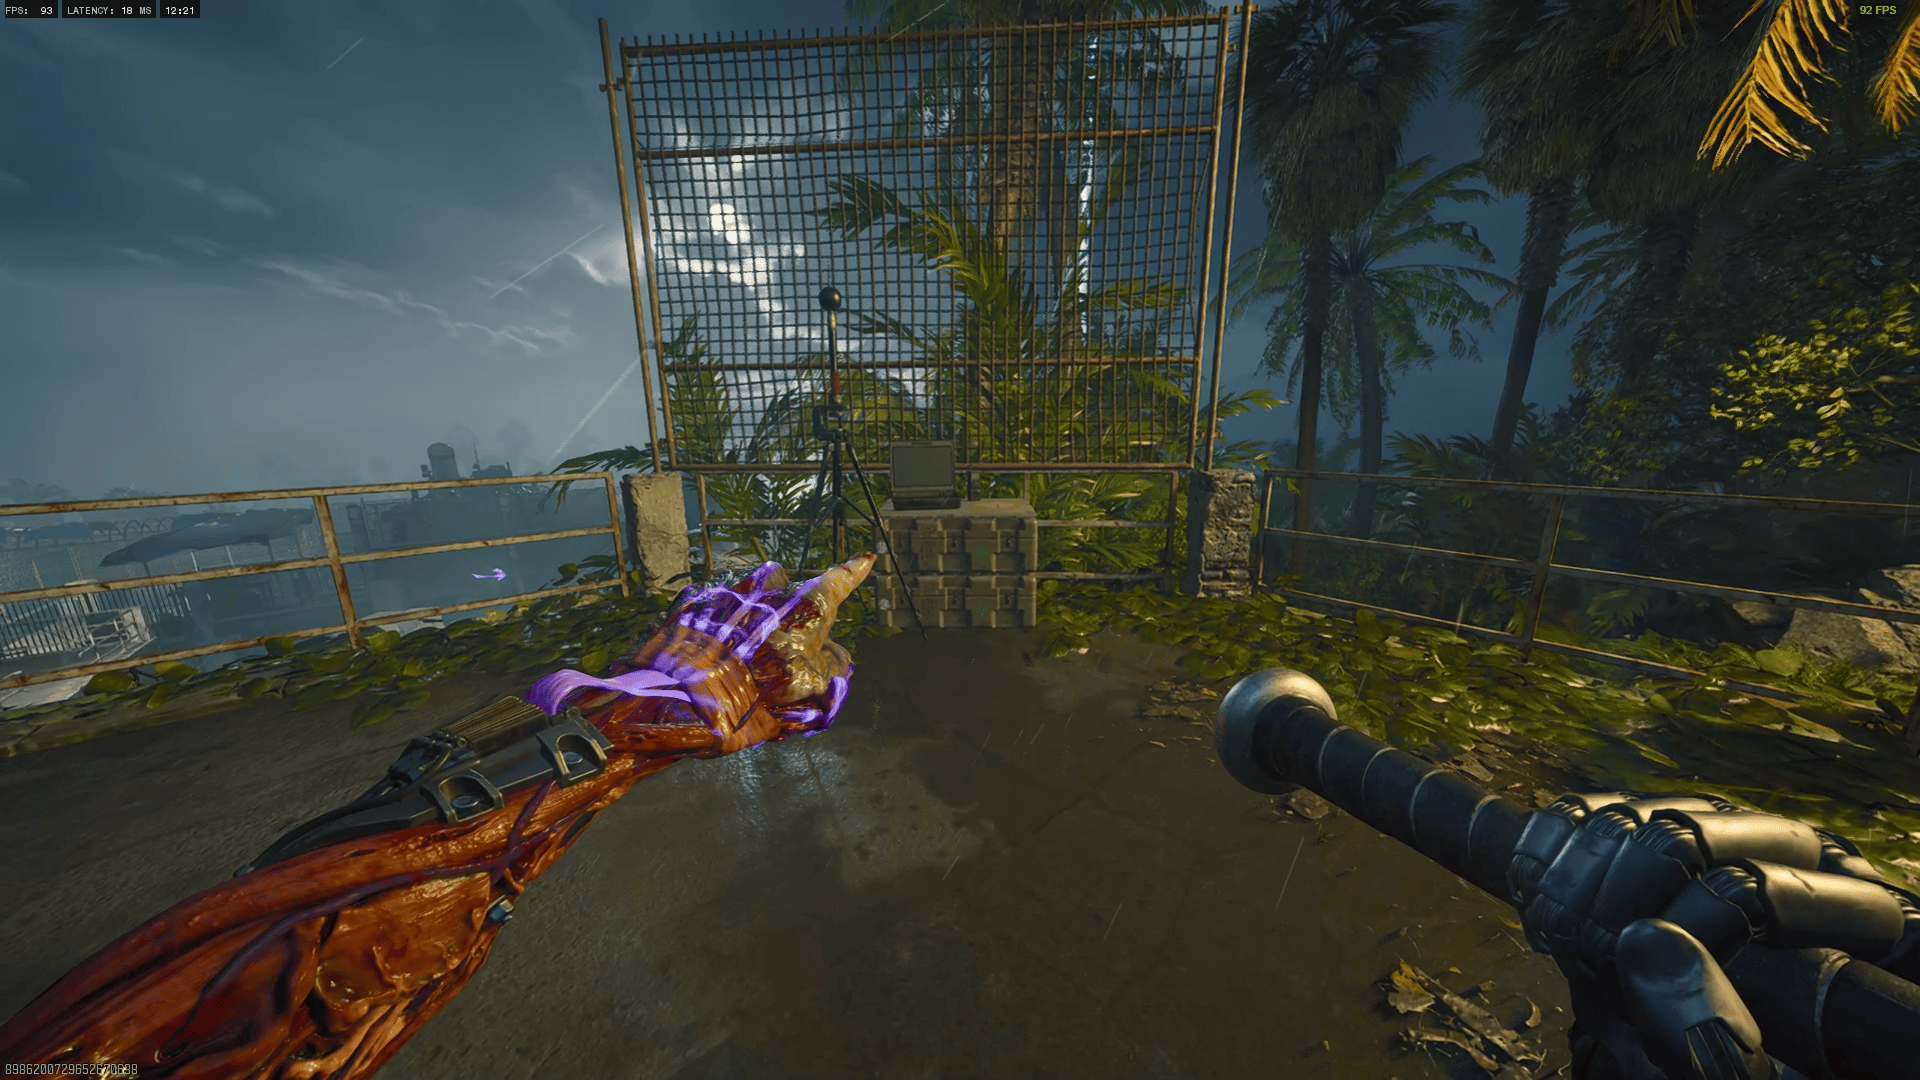
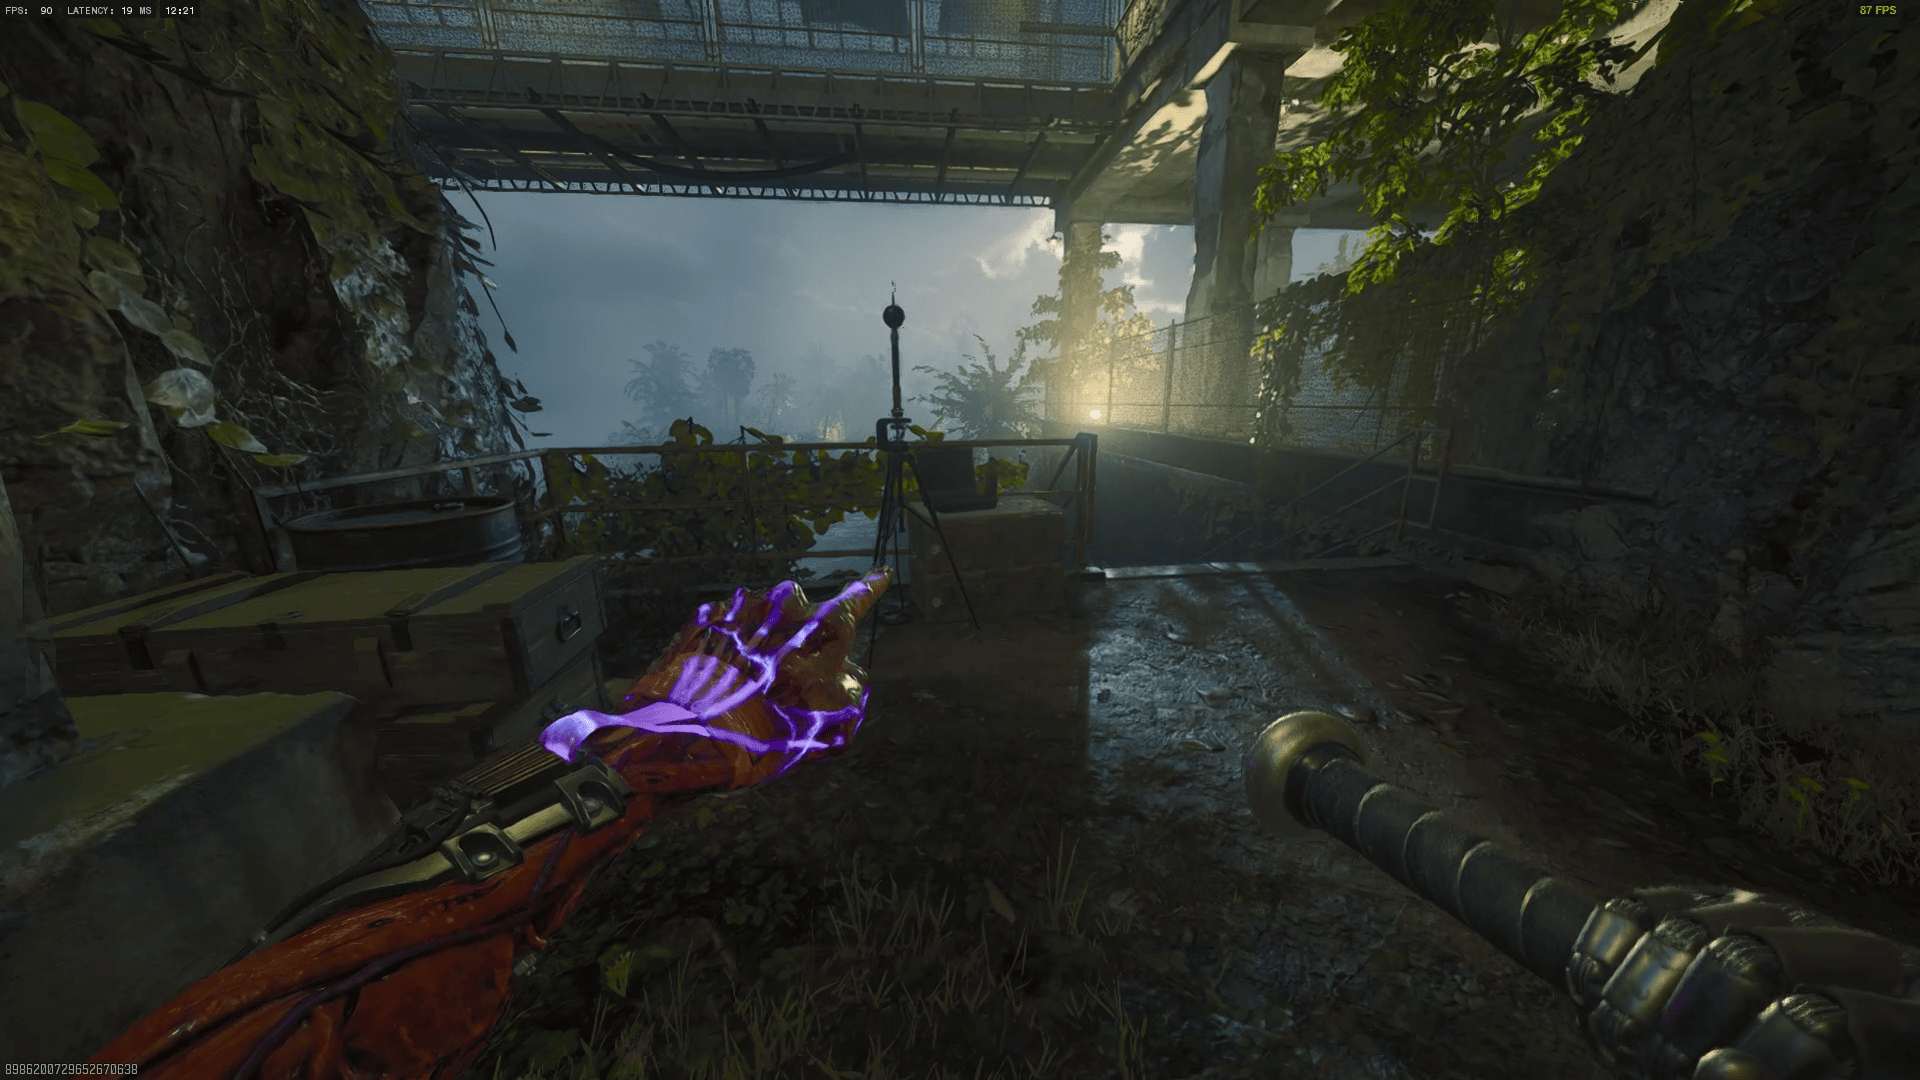
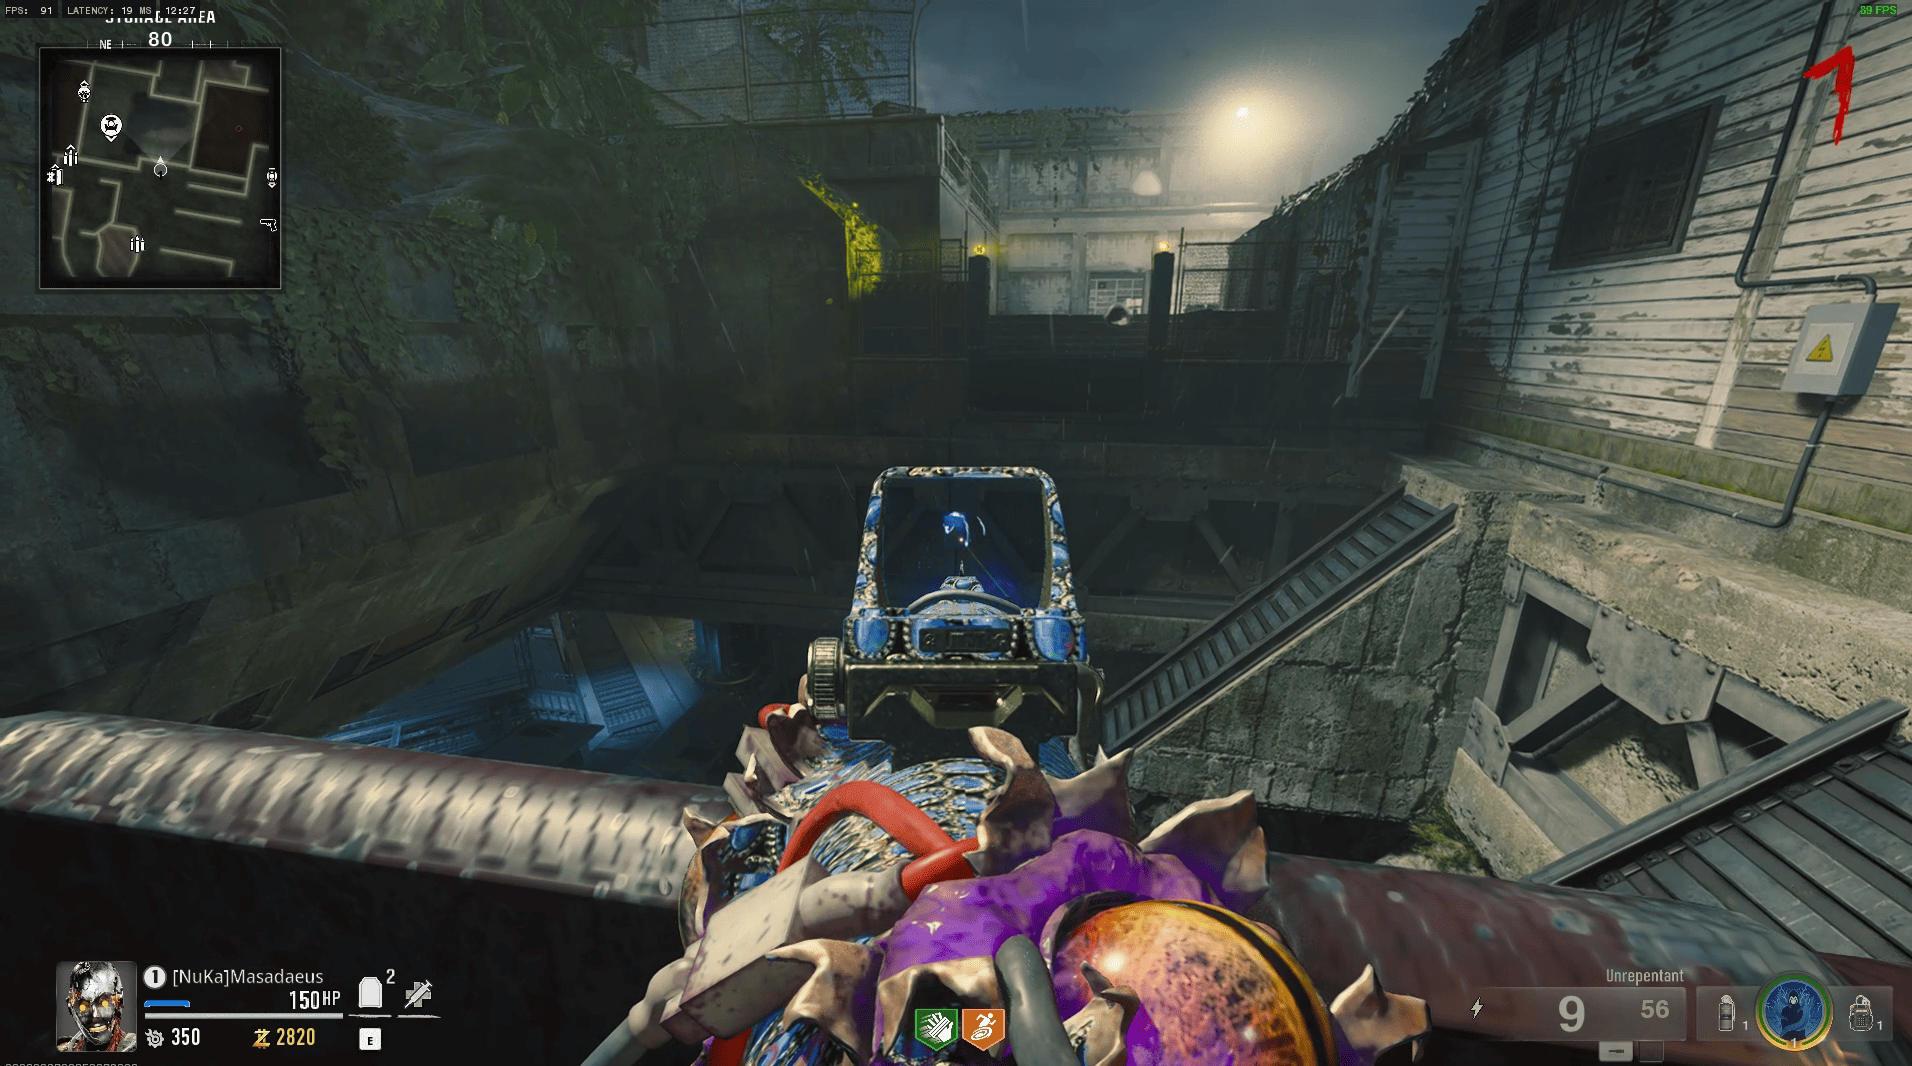
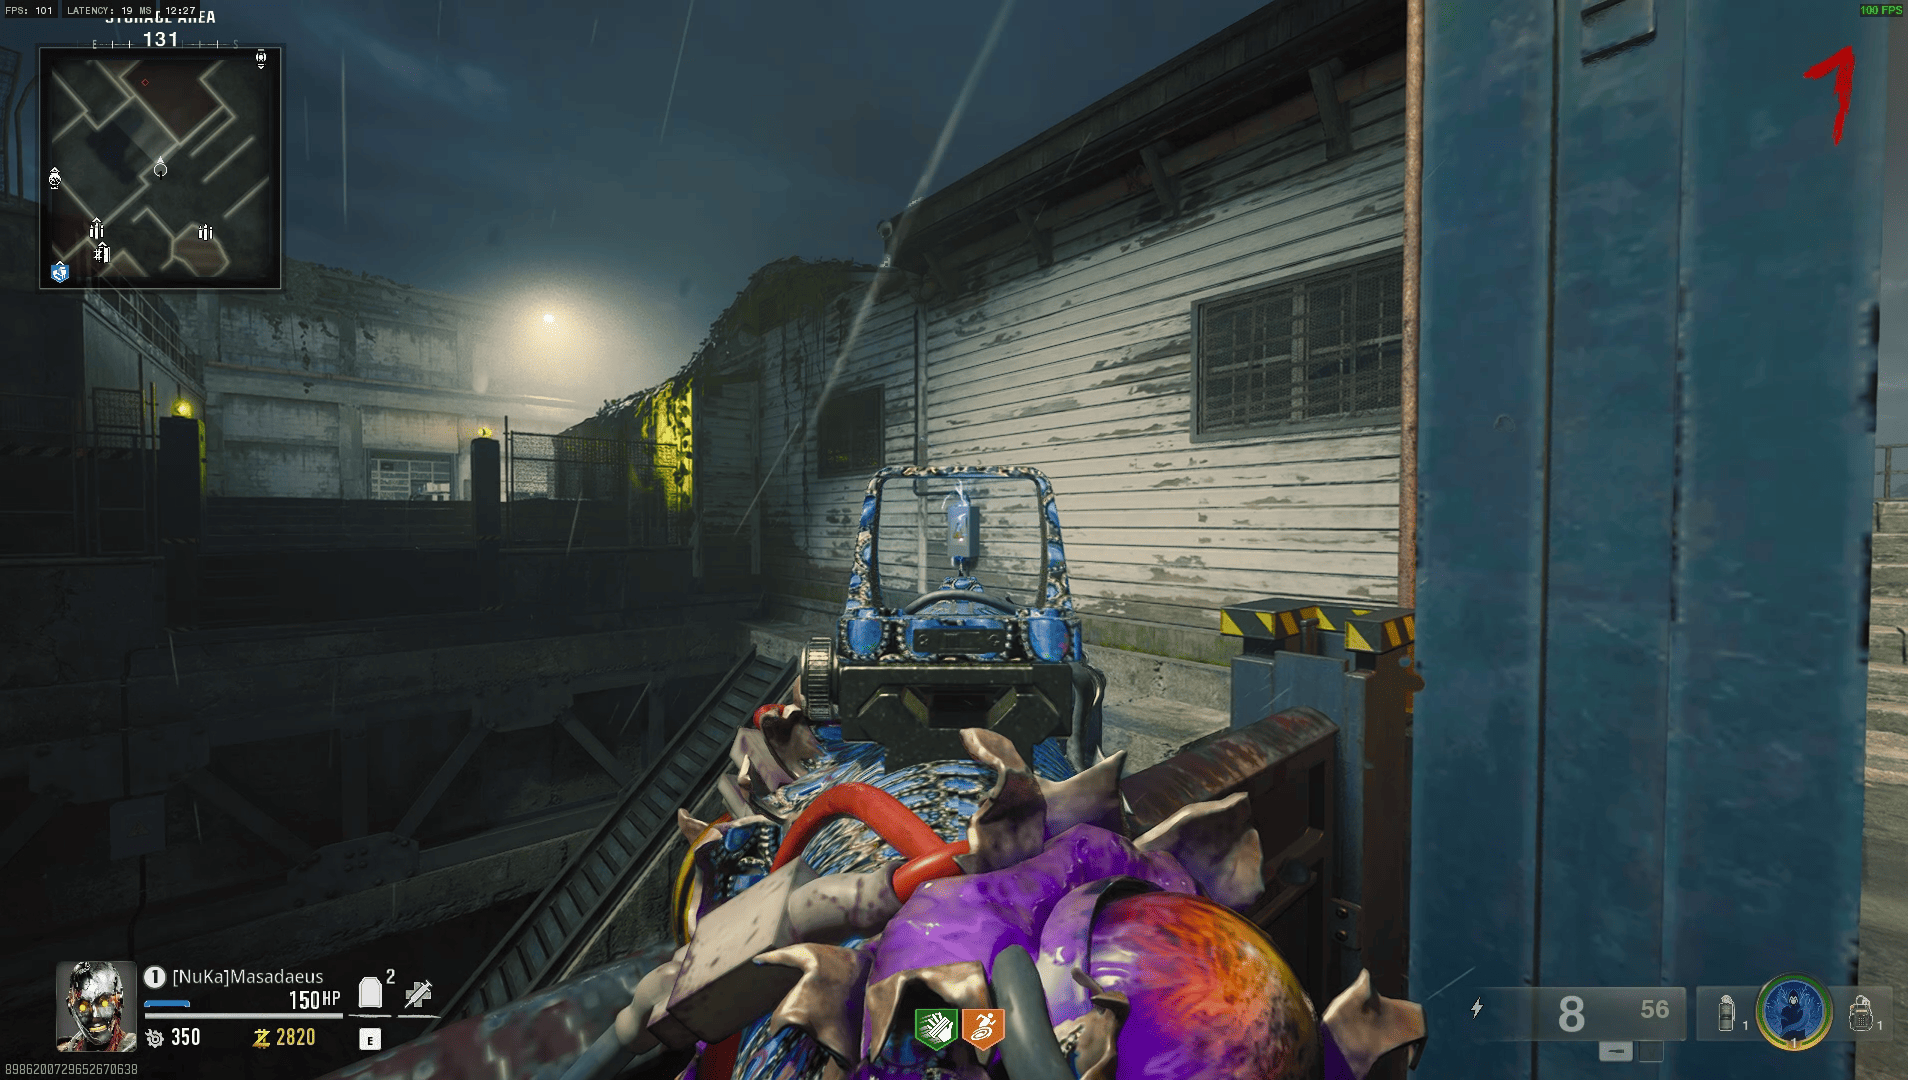
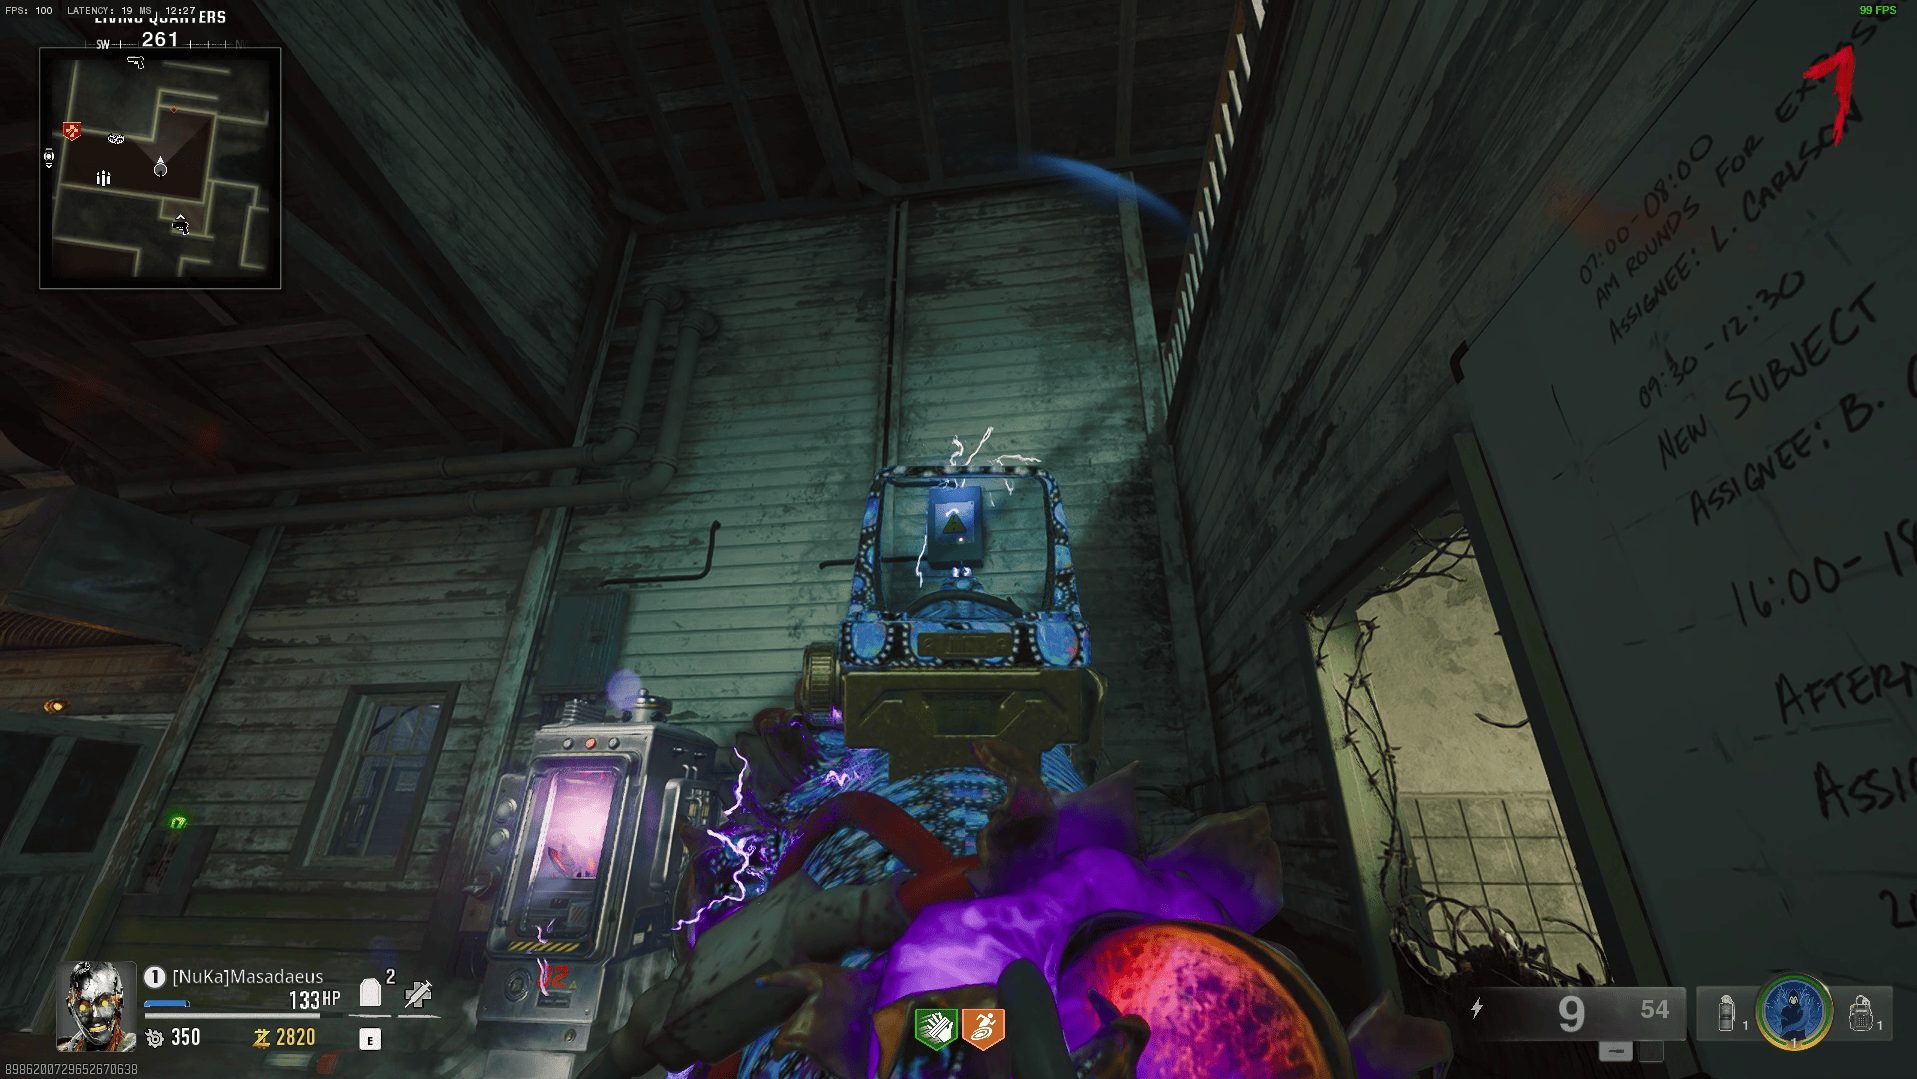
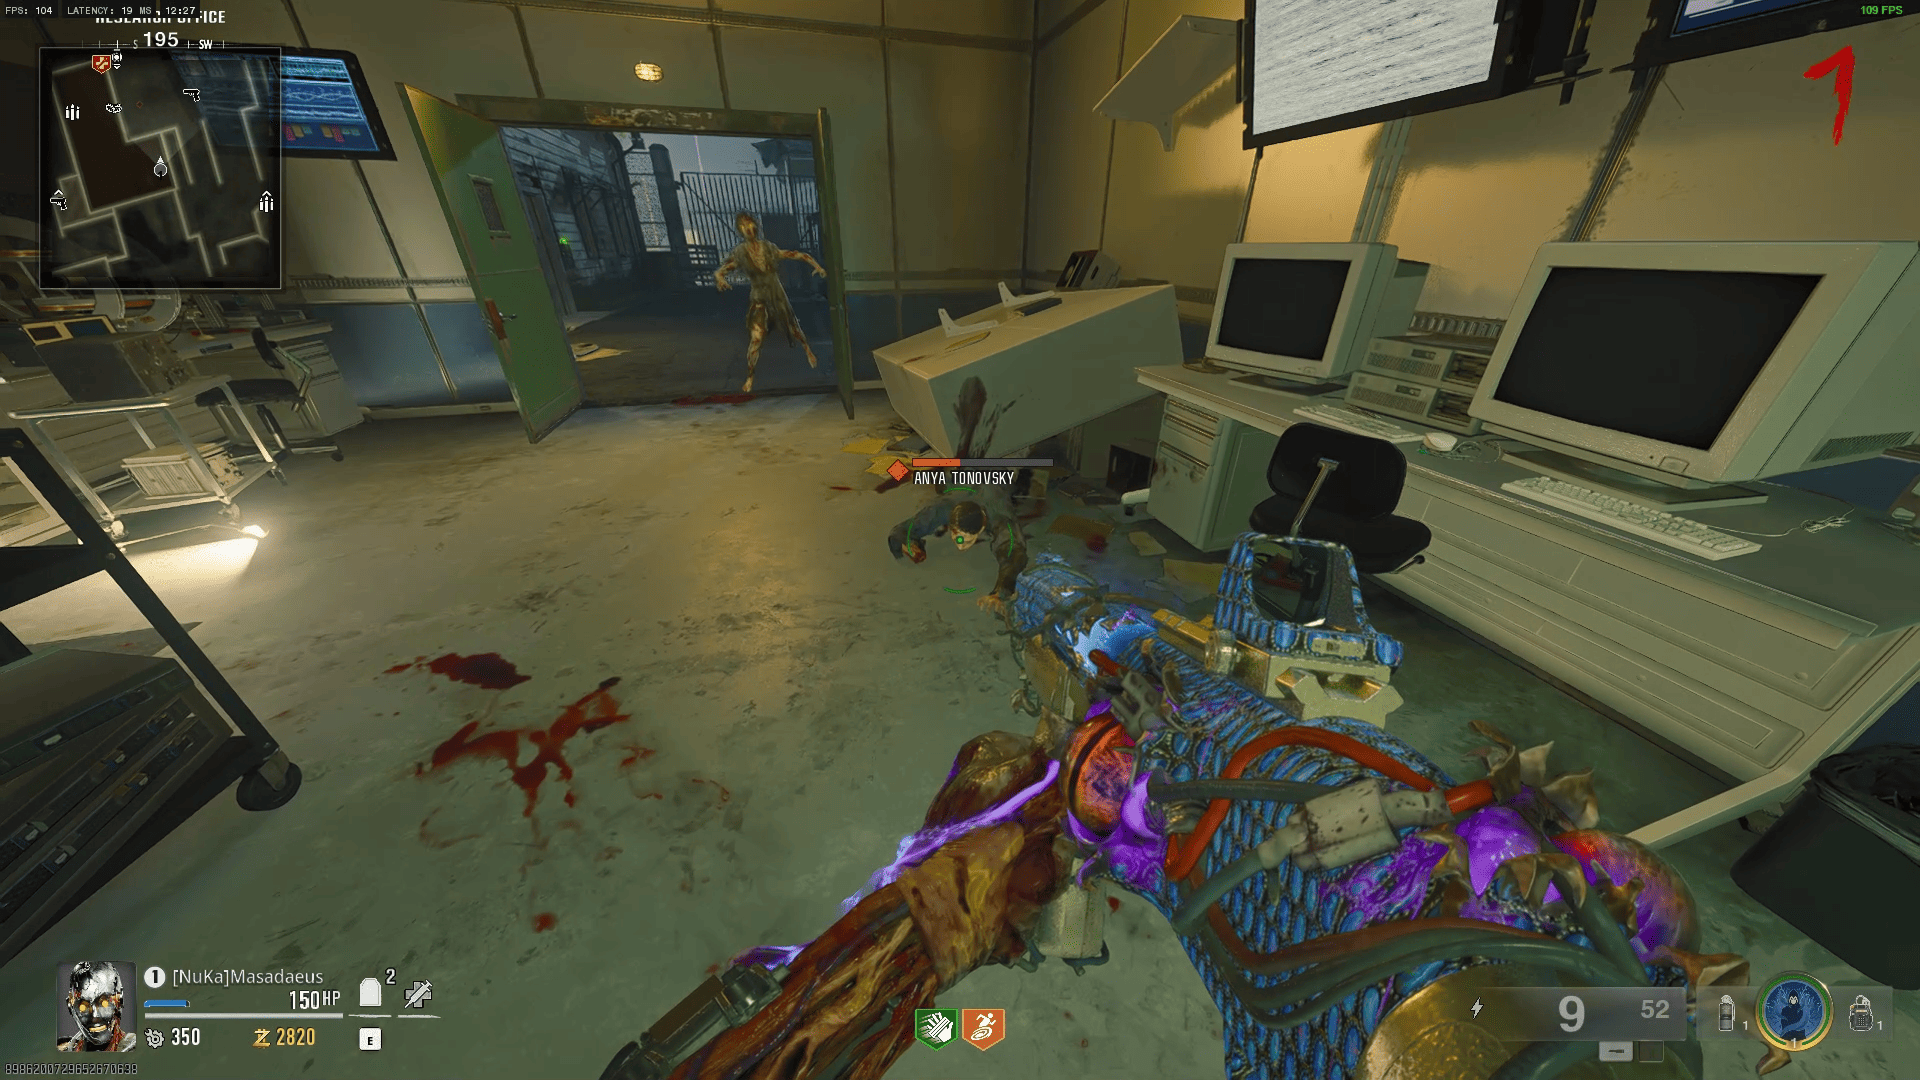
Escape the island prison, piece together Dr. Peck's research, craft the
Beamsmasher Wonder Weapon, input the computer codes, and neutralise Keres
before she breaks containment. Difficulty: High.
22Quest Steps
2–3hAvg Time
★★★Difficulty
SoloViable
🎒
Recommended Loadout
Pre-Game
💊Perks Priority
Juggernaut
Survivability — stay alive during long WW steps
Speed Cola
Reload speed critical for boss fight phases
Quick Revive
Self-revive x3 when playing solo
Deadshot Daiquiri
Aim-assist on boss weak points
🧠Gobblegums (Recommended)
Perkaholic
All perks instantly — run it round 1
Shopping Free
Craft WW components without point drain
On the House
Free wallbuy — great for early Bowie Knife
Burned Out
Emergency crowd control during quest steps
Weapons
BAL-27 (Packed)
Primary — fast TTK for elite enemies
Beamsmasher (WW)
Boss fight essential — chain lightning
🔮Ammo Mods
Brain Rot
Converts zombies — frees you during steps
Shatter Blast
Chunks electrical enemies quickly
💡
Solo Tip
Do this on Casual or Normal difficulty first. Terminus has the most
unpredictable step RNG of any BO6 map — especially the symbol locations.
⚡
Power & Early Setup
Rounds 1–5
STEP 01
Activate all three power generators
Three generators are scattered across the island. Generator A is in the
docks area, Generator B is near the main prison block, and Generator C
is in the back jungle path. Activating all three unlocks the Pack-a-Punch.
RequiredUnlocks PaP
Generator A — Docks: Head down from spawn toward the water. The generator is inside the Shipping Office building, ground floor, east wall.
Generator B — Prison Block: Take the main corridor past the cafeteria. The generator room is behind a breakable wall — melee it once to open.
Generator C — Research Lab: Go through the jungle tunnel, past the waterfall. The generator is on the upper platform of the Bio-Research Building.
⚠ Each generator spawns 2 Manglers when activated. Have your weapon Pack-a-Punched before activating B and C.
STEP 02
Use the Pack-a-Punch Machine
Once all generators are on, the PaP machine activates on the
island's central courtyard. Pack your primary weapon before proceeding.
Required
STEP 03
Locate and read Dr. Peck's research notes (×3)
Three glowing yellow notepads are scattered throughout the map.
Interacting with all three triggers the first cutscene and starts
the main quest proper.
Triggers QuestGlows yellow
Note 1: On the desk inside the Warden's Office, second floor of the main prison building. Look for the blinking light.
Note 2: In the Bio-Lab underground section, on a metal bench near the centrifuge machines.
Note 3: Pinned to the wall in the Interrogation Block, east wing ground floor.
STEP 04
Retrieve Dr. Peck's ID Badge
After reading the notes, a special Mangler will spawn wearing
Peck's badge as a glowing item. Kill it and collect the badge
drop. This unlocks the Bio-Lab terminal room.
Elite Enemy
🔫
Craft the Beamsmasher
Mid-Game
⚠
Order Matters
Collecting Beamsmasher parts in any order is fine, but you must have the
ID Badge (Step 04) before the crafting table activates.
STEP 05
Collect the Plasma Cell — Part 1
Kill 50 zombies with melee weapons near the Docks area.
After the 50th kill, a glowing green orb (the Plasma Cell) appears
floating above the crates. Walk into it to collect.
WW PartSolo Friendly
STEP 06
Collect the Resonance Coil — Part 2
In the Research Lab, solve the spinning coil
puzzle. Three coils on the wall rotate — match all three to the
alignment shown on the diagram on Peck's notes.
WW PartInteract 3 coils
Interact with the Left Coil until it points UP.
Interact with the Centre Coil until it points RIGHT.
Interact with the Right Coil until it points UP.
All three will lock with a green glow. Collect the Coil from the table below them.
💡 The coil directions are fixed in every match — they never change.
STEP 07
Collect the Power Core — Part 3
The Power Core is dropped by the Abomination boss
which roams the Jungle Path. Requires the Beamsmasher parts 1 & 2
to already be in your inventory to trigger the Abomination spawn.
WW PartBoss Spawn
STEP 08
Assemble the Beamsmasher at the crafting table
Take all three parts to the Crafting Table inside
the Bio-Lab. Hold the interact button (≈3 sec) to assemble.
The Beamsmasher will replace your secondary weapon slot.
Wonder Weapon
STEP 09
Pack-a-Punch the Beamsmasher (optional but recommended)
Upgraded Beamsmasher (Tier 2) chains to 4 enemies and
increases beam radius by 40%. Essential for the boss fight.
PaP Tier 2Recommended
🧩
Interactive Symbol Decoder
Puzzle Tool
Terminus Computer Code Solver
During the "Input Codes" step, three glowing Venn diagram symbols
appear around the map. Select them below in the order they are labelled
(X → Y → Z) and the codes for all three computer terminals will be
calculated automatically.
▸ Code for selected terminal:
--
All Terminal Codes
⚠
Symbols Are Random Each Match
The three wall symbols change every time you load into Terminus.
You must identify them in-game — look for the glowing cyan
graffiti on the prison courtyard walls.
💻
Input the Computer Codes
Rounds 10–15
STEP 10
Locate and memorise (or decode) the 3 wall symbols
After obtaining the Beamsmasher, Peck gives a radio message.
Three sections of the prison courtyard walls begin glowing with
alien symbols. Use the decoder above — select each symbol
in left-to-right order.
Decode First
STEP 11
Open Bio-Lab terminal room with Peck's ID Badge
Swipe the badge at the security door next to the
Bio-Lab elevator. The door will unlock
revealing three computer terminals inside.
Required
STEP 12
Enter code on Computer A (Bio-Lab)
Interact with Computer A and enter the 2-digit
code from the decoder. Press confirm. A green light will activate
above the terminal.
TimedMangler Spawns
STEP 13
Enter code on Computer B (Research Wing)
Head immediately to the Research Wing. You have
90 seconds from Computer A to enter Computer B
before the timer resets. Use the decoder's Computer B value.
Timed90s window
STEP 14
Enter code on Computer C (Control Room)
The Control Room terminal is the hardest to reach — up two
floors via the fire escape stairwell on the island's north end.
Same 90-second window from Computer B.
Timed ⏱90s window
STEP 15
Watch the cutscene and survive the lockdown round
After the third code, a cutscene triggers. You'll be locked in
the courtyard for one full lockdown round
(infinite zombie spawns for ~2 minutes). Survive without going
down to continue.
Survive RoundSquadmates help
💡
Timer Tip
Start the in-app stopwatch when you interact with Computer A.
You should reach Computer B by 01:15 and Computer C
by 02:30 to have a comfortable buffer.
📦
Side Steps & Intel
Optional
BONUS 01
Find all 5 Scattered Intel Documents
Five documents are hidden around the map. Collecting all 5
unlocks a unique calling card and counts toward the
Completionist achievement.
Completionist
BONUS 02
Complete the Prisoner Side Quest
Three prisoner cells contain survivors whispering codes.
Listening to all three in one match grants a free Perk Bottle.
Free Perk
BONUS 03
Upgrade the Beamsmasher to Pack-a-Punch Tier 3
Tier 3 unlocks the alternate fire mode (EMP burst) —
critical for 2nd and 3rd boss phases.
RecommendedCosts 4000 pts
💀
Boss Fight — Keres
End Game
STEP 19
Stock up — buy all perks and Max Ammo before the portal opens
You have two full rounds between the lockdown ending and the portal activating. Do not skip this step.
Prep
STEP 20
Enter the Rift Portal in the courtyard
The glowing blue portal opens in the centre of the courtyard after the prep rounds. All players must enter before it closes (15 second window).
Required15s window
STEP 21
Survive all 3 boss phases
See the phase guide below. Keres has three distinct attack patterns. Completing all three triggers the final cutscene and Easter Egg completion.
Boss Fight
STEP 22
🎉 Easter Egg Complete — Collect reward & cutscene
Congratulations! After Phase 3 the final cutscene triggers and you'll receive the Terminus Calling Card + Dark Aether Camo unlock (if first completion).
Easter Egg Done!
🦂
Keres — The Terminus Sentinel
A mutated bio-weapon with three distinct phases. Weak to the Beamsmasher and explosive damage.
1
Phase 1 — Claw Rush (100% → 66% HP)
Keres charges at players in a straight line. Always sprint
left or right — never backwards. Exposed back weakpoint
glows orange. Hit it with Beamsmasher charged shots for 3×
damage. Adds: Standard zombie waves.
2
Phase 2 — Shield Wall (66% → 33% HP)
Keres extends a bio-electric shield. The shield blocks
all conventional damage. Shoot the 4 glowing orbs
orbiting its body (use Beamsmasher EMP alt-fire to chain
them). Once all 4 orbs are destroyed the shield drops for
8 seconds — unload everything. Adds: Manglers + Disciples.
3
Phase 3 — Enrage (33% → 0% HP)
Keres increases speed and spawns clones.
The real Keres has a fully red health bar
(clones show 40% bars). Focus fire on the real one.
Beamsmasher chains will arc from real → clones, helping
clear. Adds: Continuous Amalgam spawns.
Boss Fight Survival Tips
Never stop moving. Keres locks on if you stand still for > 2 seconds.
Keep Quick Revive active — it will proc at least once during Phase 3.
Use Brain Rot ammo to convert a zombie as a decoy during the shield phase.
In squads, assign one player as "orb caller" — they call out which orb is next.
There is no timer on the fight — take your time and stay calm in Phase 3.